Linux
Old iPad as a Second Screen
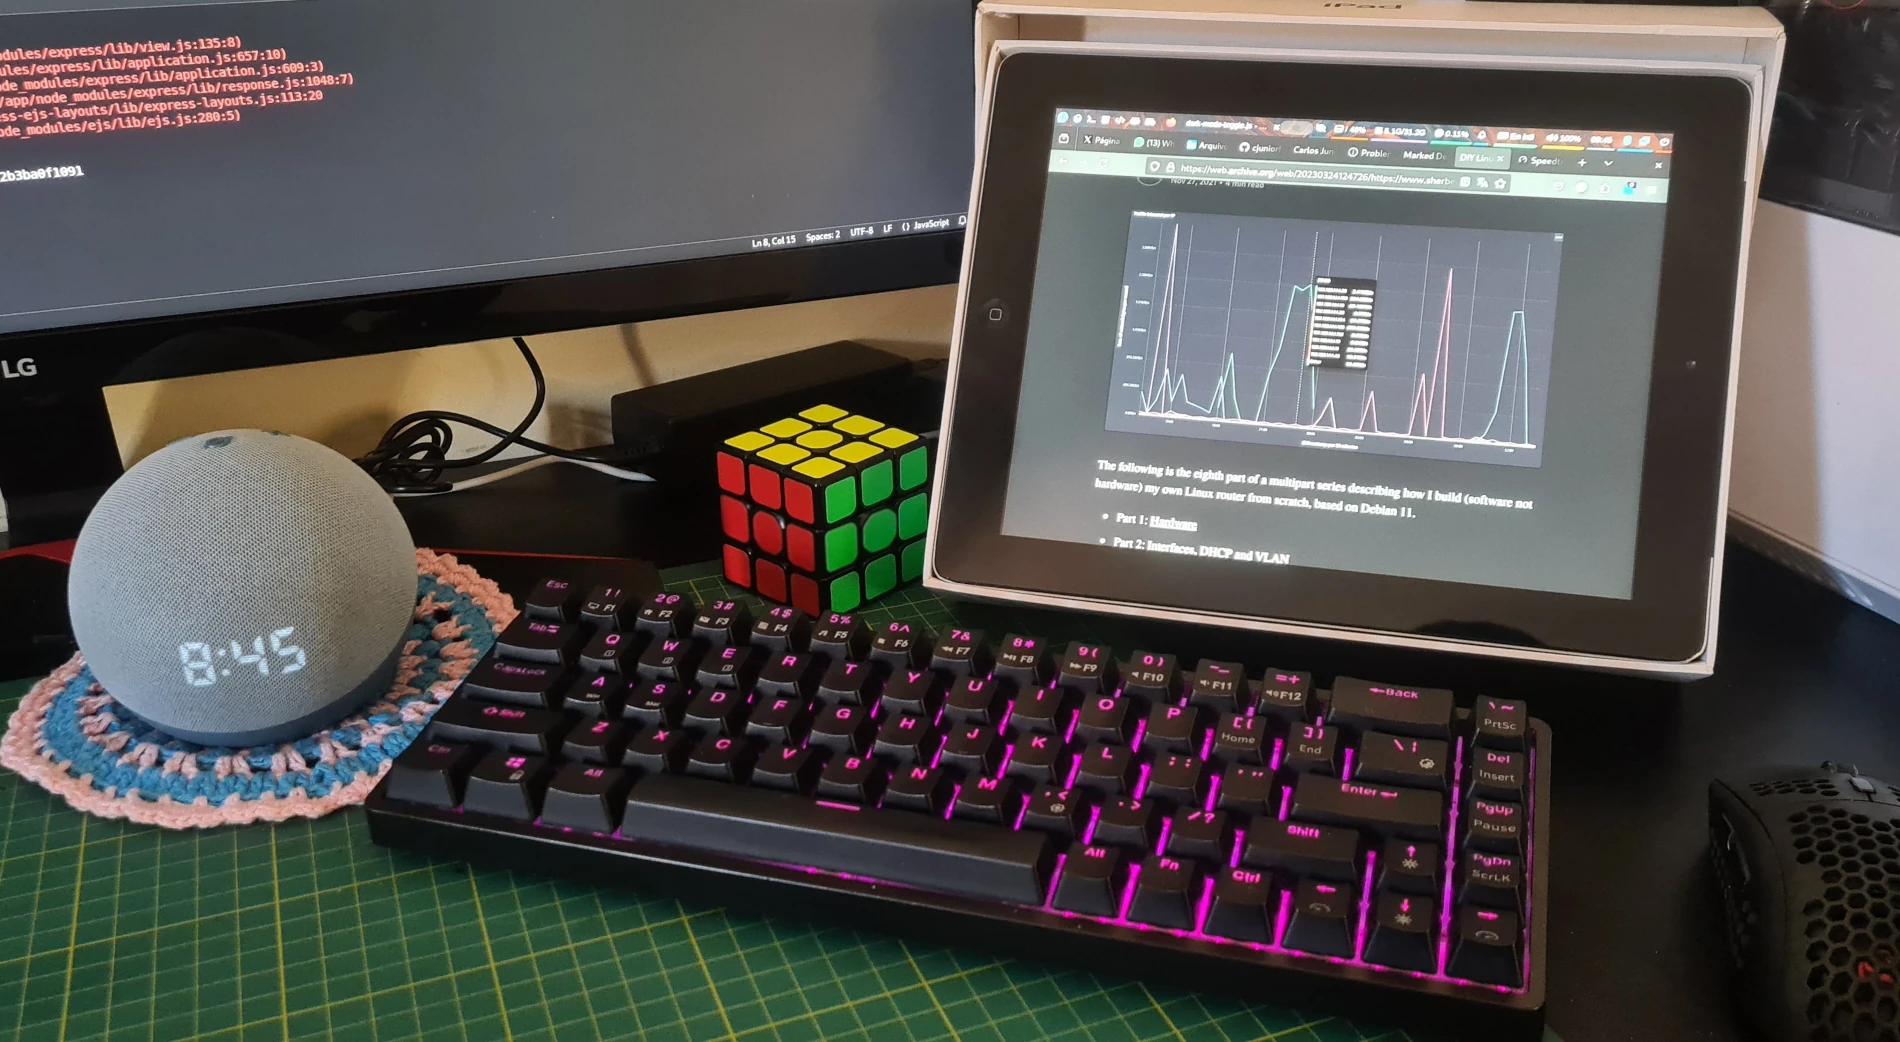
I have this older iPad 3rd generation that was kindly given to me as a gift by a friend (thanks Hamdan). I used it very often until Apple dropped the support for this iPad and begged me to throw it away into a landfill and spend a grand on a brand new iPad. Certainly, in a couple of years, Apple will ask me to throw the new iPad into the same landfill as this one. But I refused to attend to Apple's wishes. As far as this ancient iPad worked well, I still used it. However, it wasn't an easy task. Apps like YouTube, Facebook, and Twitter dropped support for iOS 9.3.6 a long time ago, which is the "most recent" version supported by this iPad. Even surfing the web is not an easy task on it. So, I finally gave up and locked this iPad in my wardrobe, where it had not been used for many years. But now is the time to get it from my wardrobe and give a new life to this iPad, now as a second monitor. With its Retina Display with 2048x1536 resolution, it is a very competent second display. This idea is not new, and there are already some solutions for addressing this task, like Spacedesk for Windows or VNC screencasting a virtual display. These work but offer a low-framerate, laggy experience that isn't up to my expectations. I was very frustrated until I found the solution already in front of me. A great one, to say the least, that works on both Linux and Windows machines. On Linux, with Wayland and their many compositors like Gnome, KDE, Sway, and Hyprland, which is the one I'm using right now, and, obviously, X11. The solution is the couple Sunshine and Moonlight.
Table of Contents
- Sunshine and Moonlight
- Linux
- Windows
- Install Moonlight on your ancient iPad
- Setup Moonlight
- Conclusion
Sunshine and Moonlight
Sunshine (server side) and Moonlight (client side) offer an open-source solution for Nvidia Shield, which is a platform for remote gaming aimed at Nvidia cards on Windows machines. Sunshine and Moonlight spread the options, gaining support for not only Nvidia cards but also AMD and Intel GPUs, as well as extending support for other Linux-based distros and macOS. Being a solution for remote gaming, the framerate is excellent, and the latency is very low, offering a great experience. So enough talk, let's get started.

Linux
During this tutorial, I will provide the steps based on Fedora Linux with Hyprland using an AMD RX 6700 XT as a Display Adapter. You might think this is way too specific, but don't be discouraged. With some adaptations, you can certainly follow this guide with some quirks here and there.
Install Sunshine
Sunshine does not provide its packages to the distro's package managers. Instead, you need to download the package manually according to the distribution you're currently using. The most general option, in my opinion, is using the Flatpak version of it. So, let's download the latest Flatpak release of Sunshine from this link and do some Linux shenanigans to make it work.
Fedora Copr
It is possible to install Sunshine using Fedora Copr, which are public repositories created by collaborators. One that I use is the matte-schwartz/sunshine repository, which can be added in two ways:
dnf copr enable matte-schwartz/sunshinecurl --output "/etc/yum.repos.d/_copr:copr.fedorainfracloud.org:matte-schwartz/sunshine.repo" --remote-name "https://copr.fedorainfracloud.org/coprs/matte-schwartz/sunshine/repo/fedora-40/matte-schwartz-sunshine-fedora-40.repo"
After that, it's just a matter of installing:
# Fedora
dnf install sunshine -y
# Silverblue
rpm-ostree install sunshine
Create a service for "setcap" on Sunshine
Only applicable if you're using the Flatpak version of Sunshine.
Sunshine shares the screen using a solution that demands special permissions to the executable file, and this permission needs to be applied on every boot. So let's create a systemd unit for it. Create the file /etc/systemd/system/sunshine-setcap.service with the following content:
[Unit]
Description=Self-hosted game stream host for Moonlight

[Service]
Type=oneshot
Environment=LANG=en_US.UTF-8
ExecStart=/usr/bin/bash -c '/usr/sbin/setcap cap_sys_admin+p $(readlink -f $(/usr/bin/find /var/lib/flatpak/app -name sunshine | /usr/bin/grep /bin/sunshine)); /usr/bin/touch /var/run/sunshine-setcap-done'

[Install]
WantedBy=multi-user.target
Now, let's create a user-level service for starting Sunshine upon login. Create the file ~/.config/systemd/user/sunshine.service with the following content:
[Unit]
Description=Self-hosted game stream host for Moonlight
StartLimitIntervalSec=500
StartLimitBurst=5

[Service]
Environment=LANG=en_US.UTF-8
ExecStartPre=/bin/bash -c 'while [ ! -f /var/run/sunshine-setcap-done ]; do echo "Waiting for sunshine-setcap.service to complete..."; sleep 5; done; /usr/bin/sleep 5'
ExecStart=/usr/bin/flatpak run dev.lizardbyte.app.Sunshine
ExecStop=/usr/bin/flatpak kill dev.lizardbyte.app.Sunshine
Restart=on-failure
RestartSec=5s

[Install]
WantedBy=xdg-desktop-autostart.target
Enable both services:
sudo systemctl enable sunshine-setcap.service --now
systemctl --user enable sunshine --now
Do not forget to make user-level services available by adding to your autostart the command systemctl --user start default.target. On Hyprland, it's just a matter of adding the line into ~/.config/hyprland.conf:
exec-once = systemctl --user start default.target
Firewall
What Linux has in security and reliability, it lacks in automatically configuring all the permissions and rules needed to make the intended service work. We need to manually open the ports for Sunshine. In this case, the TCP ports 47984, 47989, 48010 and the UDP ones from 47998 to 48000, and 48002, 48010. With that in mind, let's open ports on our firewall and make the Sunshine service available to the local network. This step regards firewalld, the default solution for Fedora and many other Linux distributions.
- Let's create the file
/etc/firewalld/services/sunshine.xmlwith the following content:
<service>
  <short>Sunshine</short>
  <description>Sunshine Screen Streaming and Sharing Service</description>
  <port protocol="tcp" port="47984"/>
  <port protocol="tcp" port="47989"/>
  <port protocol="tcp" port="48010"/>
  <port protocol="udp" port="47998"/>
  <port protocol="udp" port="47999"/>
  <port protocol="udp" port="48000"/>
  <port protocol="udp" port="48002"/>
  <port protocol="udp" port="48010"/>
</service>
- Reload
firewalldto make the service available:
sudo firewall-cmd --reload
- Add the newly created service to the local network zone. By default, firewalld configures the default adapter to the public zone or home zone. You can check what zone with the command
sudo firewall-cmd --get-zone-of-interface=enp6s0assuming that your network adapter is namedenp6s0. In my case, the zone of my network adapter is home. So let's add the service to the home zone:
sudo firewall-cmd --add-service=sunshine --zone=home
sudo firewall-cmd --runtime-to-permanent
- From this moment on, you will have the Sunshine service initialized and available on your local network. You can check it by installing the Moonlight app on your Tablet or Phone. Your computer should appear as a pairable device on Moonlight's home screen. If not, it's just a matter of rebooting your computer.
Script for adding the virtual screen
A little disclaimer: This script is for Hyprland. If you're using another compositor like Gnome, KDE, or Sway, you must adapt the commands accordingly to your compositor. Also, the intended resolution is for the iPad 3rd generation. Configure the resolution to match the gadget you should use as a second monitor.
- Create the file
/home/username/.local/bin/virtual-screen.shwith the following content:
#!/usr/bin/bash
RESOLUTION=1024x768
POSITION=auto
SCALE=1
COMMAND=$1
OUTPUT=$(hyprctl monitors | grep HEADLESS | tail -n1 | awk \{print\ \$2\})

if [ "${COMMAND}" = "create" ]; then
  hyprctl output create headless
  hyprctl keyword monitor "${OUTPUT}","${RESOLUTION}","${POSITION}","${SCALE}"
elif [ "${COMMAND}" = "remove" ]; then
  hyprctl output remove "${OUTPUT}"
else
  echo "Use [virtual-screen.sh create] or [virtual-screen.sh remove]"
fi
Sunshine Configuration on Linux
If you successfully made it this far, you have Sunshine successfully installed and working on your machine. Now it's time to configure it. Open your web browser and access the following URL: http://localhost:47990. Configure your username and password by typing them twice as mentioned on the page. Reload the page with F5, and you should be redirected to the main page. If everything is working as intended, you should have a page mostly like this.
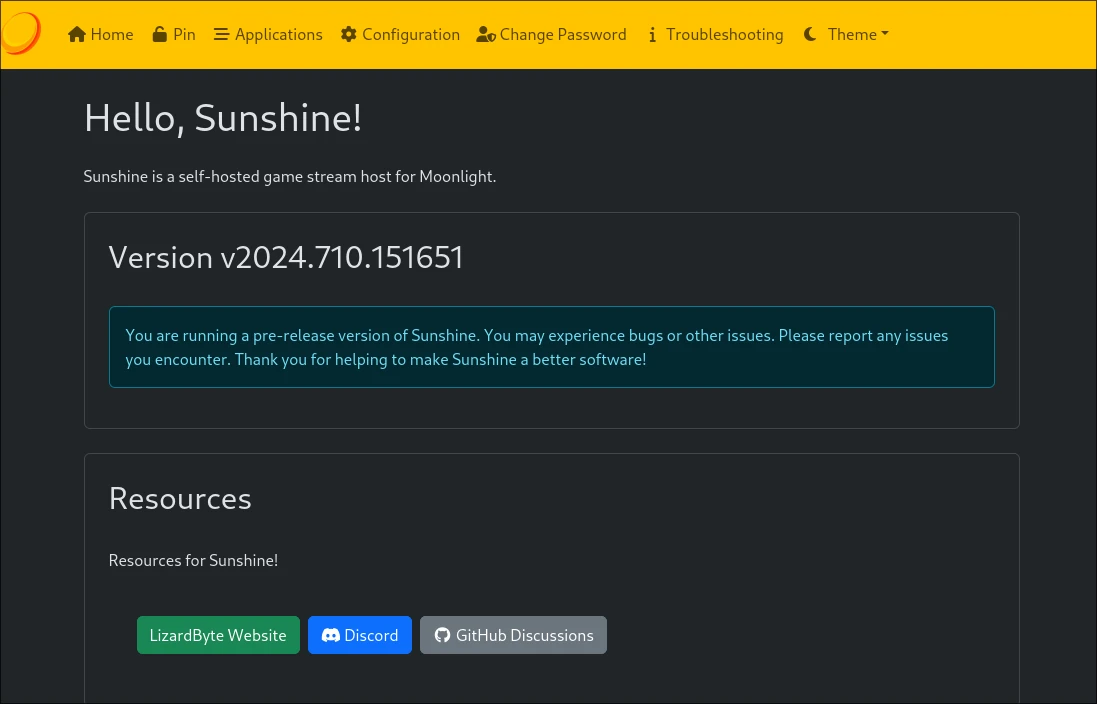
If instead, you have a big red alert on your screen, redo the steps above to fix the issue.
With everthing up and working, do as followws:
- At very top of the page, click on
Configuration, and then, the tabAudio/Video. - Set the field
Display Numberas 1. If you have additional displays connected to you computer, set this value as 2 if you have two monitors, if you have three, set as 3 and so on. - At very top of the page click on
Applications. Here we need to add the commands for creating the virtual screen to be shared by Sunshine with the iPad or your gadget device.- Click on add.
- Define
Application NameasSecond Screen. - At
command preparations, click on the green plus(+)button. - Add on
Do Commandas
   #Use "flatpak-spawn --host" only if you're using the Flatpak version of Sunshine.
   flatpak-spawn --host /home/username/.local/bin/virtual-screen.sh create
- To the
Undo Command, set it as
   #Use "flatpak-spawn --host" only if you're using the Flatpak version of Sunshine.
   flatpak-spawn --host /home/username/.local/bin/virtual-screen.sh remove
Windows
Windows 95 by shenanigan87
Let's make that clear, I don't have anything against Windows, and I don't think that Windows is a bad operating system in any circumstances. I just don't like to use a bloated-resource-hungry OS that looks over my shoulder at everything that I'm doing, consuming precious machine resources that I paid for to try to sell me things that I don't want and not allowing me to disable those things to save machine resources or to customize the OS as I wish. For example, why I can place the Start Menu (or Windows Menu, I don't know) anchored to the center of the screen or at the left, but not at the right? If I want to, I should be able to place the Start Menu anywhere I want on the operating system that I overpaid for. But let's stop complaining about Windows and do the proposed job. The process is mostly the same as on Linux, with the difference of Windows not being capable of creating a new virtual display out-of-the-box. To do so, we have two ways: using a headless HDMI dongle, which is simple but junky, or installing a virtual display driver, which is a bit more complicated and still junky, but not as junky as plugging and unplugging a dumb device into your computer.
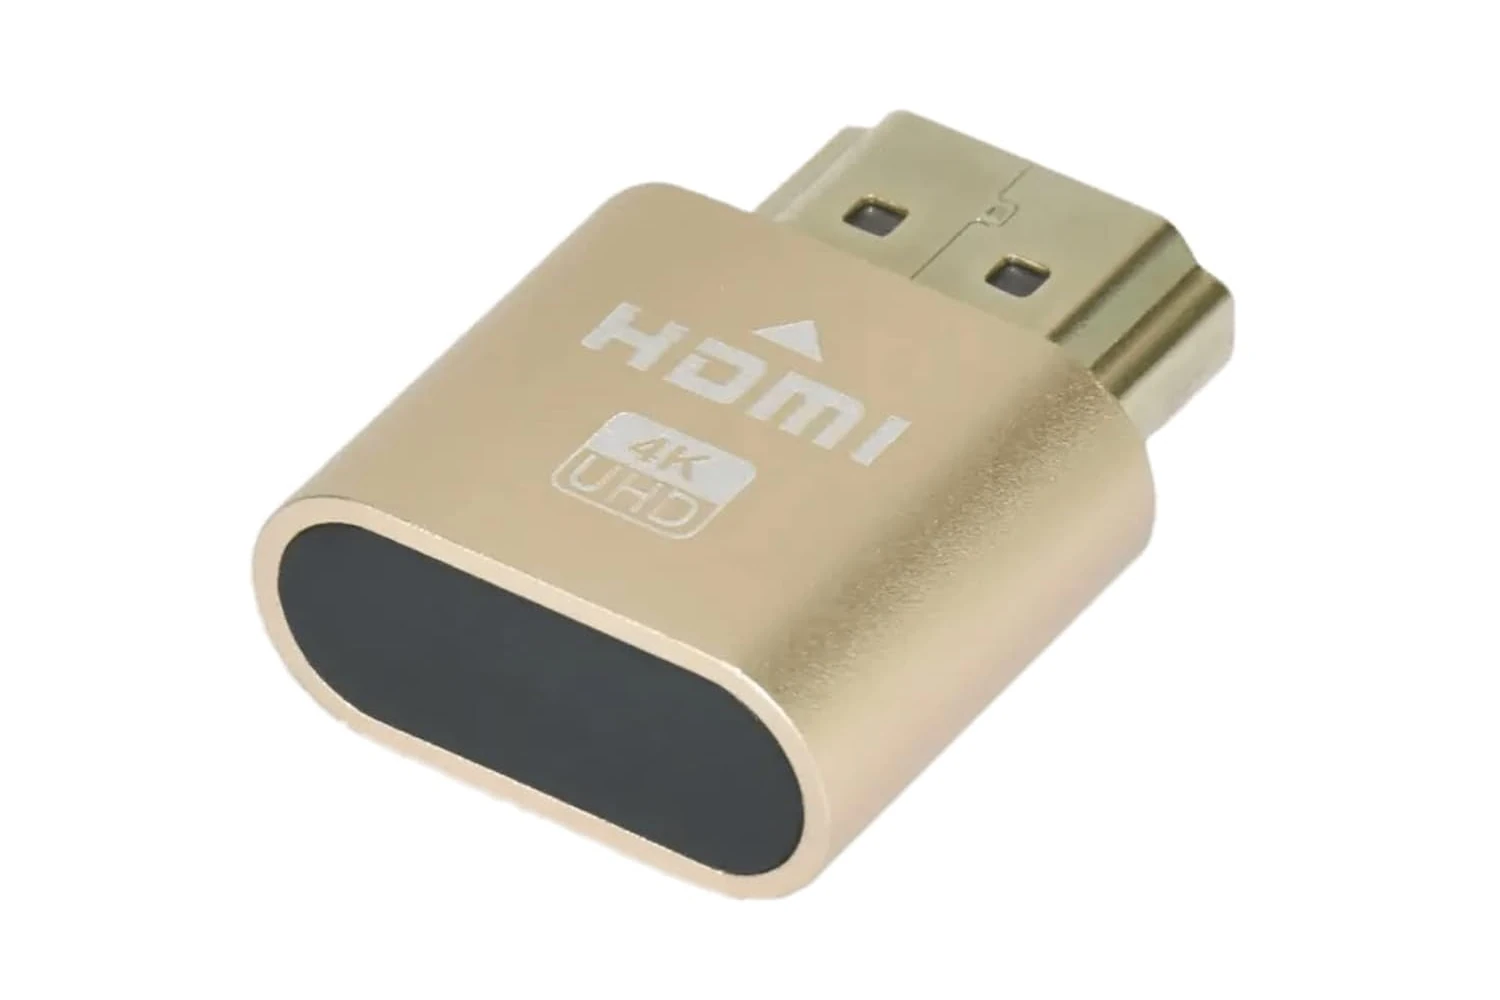
HDMI Headless Dongle
The intent for this little dongle is to trick Windows and the Display Adapter into thinking there's a monitor plugged into some output. With that, there's no setup to be made. Just plug in some HDMI output from your Display Adapter, and done. Your computer will think that you have another display connected and will start sending video to it, being able to share this screen with Sunshine and use it as a second display. The solution is straightforward but assumes that you have a spare output available, and that isn't the case all the time. You also will need to change the resolution to match the tablet's resolution, and not all dongles' EDID make available the intended resolutions for this purpose. You can modify the EDID firmware values of your dongle, but if the idea is to make the configuration simple, changing the dongle's firmware isn't the right case you want.
Virtual Display Driver
As mentioned, Windows doesn't offer an out-of-the-box solution for creating a new screen. If you don't want to use a dongle because you don't have one or because you don't have a spare HDMI output hanging around, and you want a better suitable configuration for the output resolution and even HDR support, the answer is installing the virtual display driver that creates a virtual display adapter emulating the behavior of connecting a monitor to that adapter. We do this by installing this software: Virtual Display Driver. So, do as follows:
- Download the Driver from here.
- Unzip the file and, on
Windows Explorergo to the directoryIddSampleDriver. - Open another
Windows Explorerwindow and at very top ofC:drive, create the directory
C:\IddSampleDriver
- Copy the file
option.txtfrom the downloaded folder toC:\IddSampleDriveror create your own file. This file contains all available modes to your new adapter. I created mine one as follows:
1
1024, 768, 60
2048,1536, 60
- IMPORTANT! Right-click on the
installCert.batfile and click onRun as Administrator.- Ignore the concerned message of Windows bragging "I protected your computer" by clicking on
more informationand then, onExecute anyway. - Click on
Yeson the other concerned message about security.
- Ignore the concerned message of Windows bragging "I protected your computer" by clicking on
- Open
Device Managerby typingdevice managerin the search box from the taskbar. - Click on any device and then, on
Actionbutton andAdd legacy drivermenu item.- You will be presented with a Wizard. Click on
Next. - Click on
Add from a listand onNext. - Select
Display adaptersand click onNext. - Click on
Have disk, andSearchand go to the directory you unzippedIddSampleDrivercontaining the.inffile. - Select the only option
Virtual Display Driver by MTTand click onNextandNext.
- You will be presented with a Wizard. Click on
If everything goes as intended, the screen will make a little close as a "vignette" and open up again. That means that the display driver was successfully installed and is working. The option.txt at the C:\IddSampleDriver contains all the modes enabled. You can add or remove resolutions as your needs. In my case, 1024x768 and 2048x1536 are the only resolutions I intend to use.
To enable and disable the display, you'll need to manually enable and disable the Display options with a right-click on your desktop.
Sunshine
While the Virtual Display Driver is a little junky setup, installing Sunshine on Windows is a walk on the beach. Just download the latest release for the software from their Github, and install it, again, ignoring the concerns of Windows.
Sunshine Configuration on Windows
Here we configure it in a similar way as we did on Linux. Because I know that if you're installing the Windows version, you didn't read a word for the Linux installation, I'll repeat some steps. But if you did (let's be honest, I know you didn't), you'll see many resemblances, but they are not identical.
- Go to
http://localhost:47990. - Ignore the security risk warning and click on "Go anyway".
- Configure your username and password and update the page.
- Log in with the newly created credentials.
- Click on
configuration,Audio/Videoand on the fieldoutput name, insert the correct name for your virtual display.
If you don't know what the name is, Sunshine has a tool for that. Just open the containing installation of Sunshine C:\\Program Files\\Sunshine\\tools. Right-click, open in Terminal, and then type dxgi-info.exe. Mine was named .\\DISPLAY9.
Just one more thing. With that, the Sunshine installation will be tied to this display, even if you are willing to play remotely. So, you'll need to do some ricing to use Sunshine for other purposes apart from extending the display.
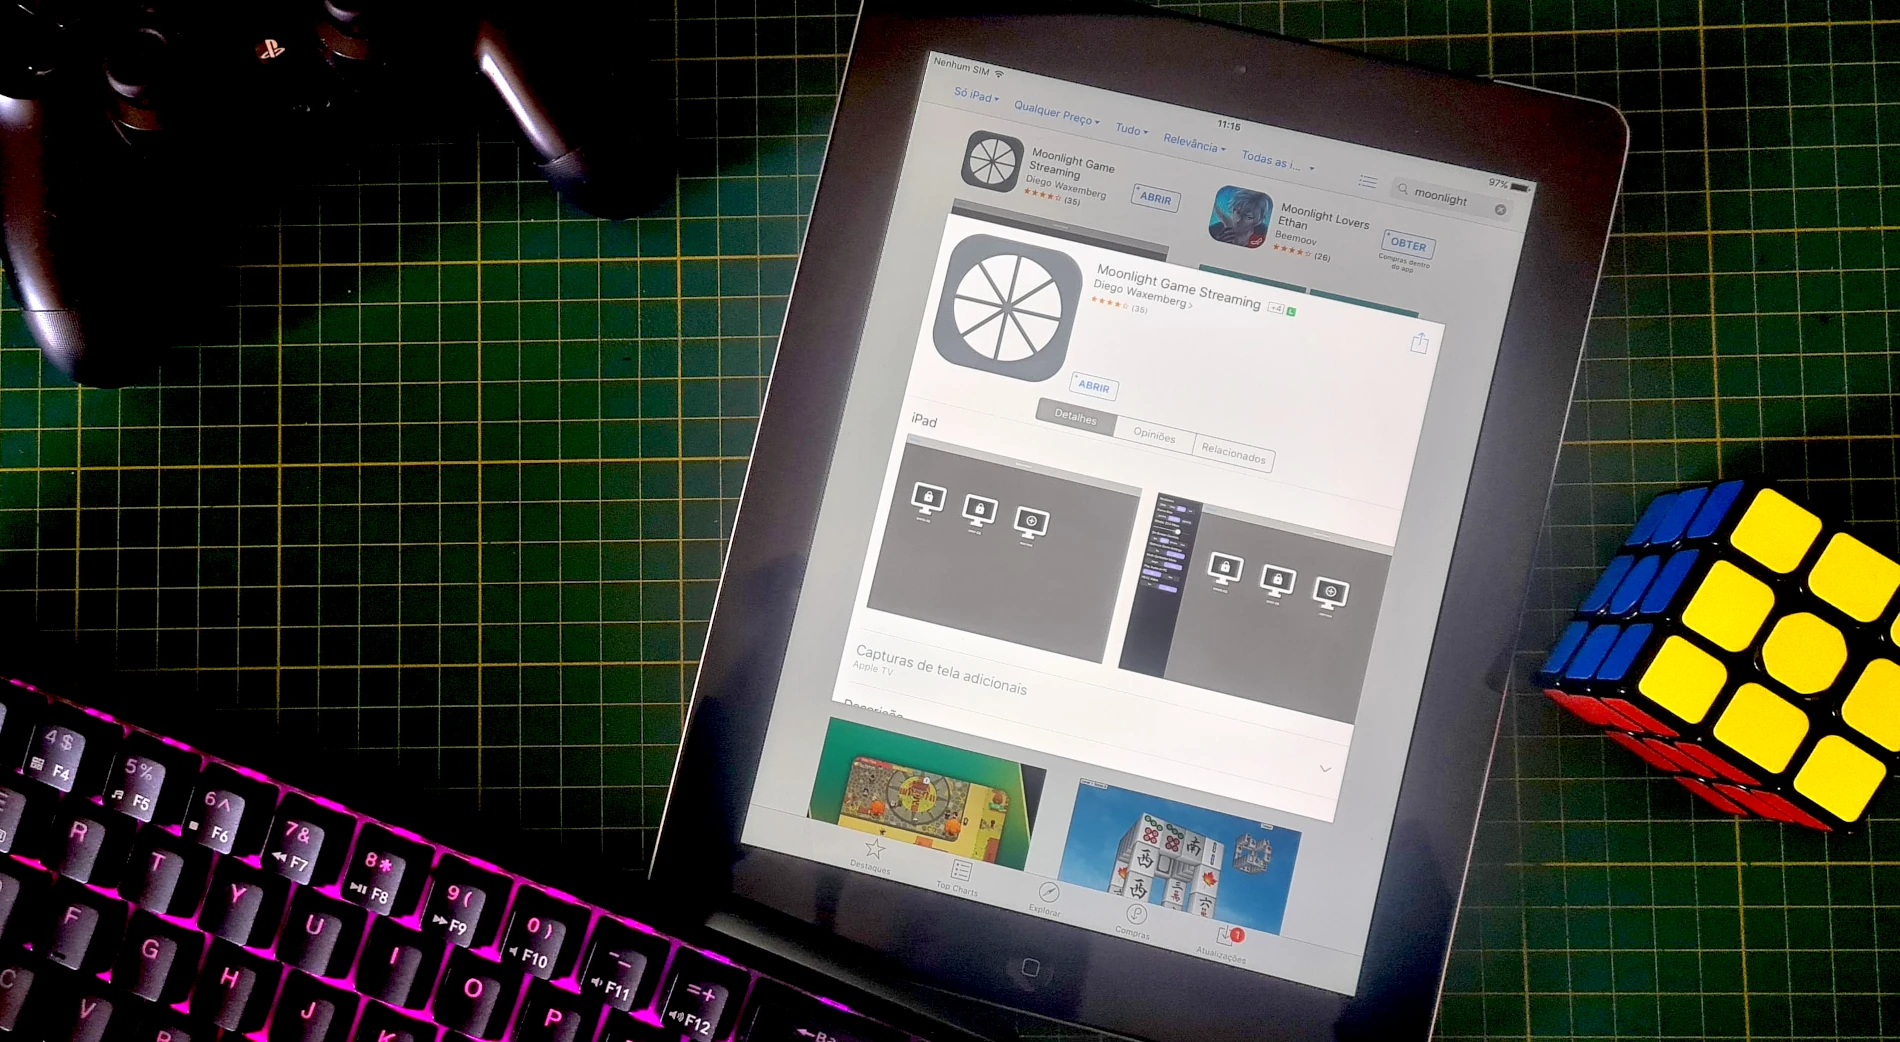
Install Moonlight on your ancient iPad
As mentioned in my disclaimer, Apple wants me to throw away my perfectly working iPad 3rd generation into a landfill and spend a grand on a new one, and they do that by dropping support for old devices. The recipe is simple. They cease new operating system releases, making these devices stuck on an older version of the OS, while dropping the software support for the OS running on it, making the system outdated and insecure. Time passes, and the support is being dropped app by app, making the device useless. This iPad isn't capable of running native apps for all mainstream social networks or email clients, even being physically capable of doing so. This is programmed obsolescence, literally speaking, because their servers are programmed to do so. With that in mind, installing new software on these older devices is not an easy task. If you have the app in your library and this app offered support for the iOS version running on the gadget at some moment in the past, lucky you. Apple still offers the choice of installing an older version of the app, which is up to our needs in the case of Moonlight. If you didn't have the software in your library, sorry to say, but you are in a bad situation because Apple doesn't allow you to add outdated software to your library. To overcome that, you have two choices. The easiest one is having a newer device (again, Apple begging you to spend a grand on a new one). On this newer device, if the iOS version running on it is sufficiently newer, you will be allowed to add Moonlight to your library through this device and then, install the older version on your older device. Lucky for me, my cousin kindly gave me an iPhone 6s that serves that purpose well. The other way around is using some jailbreak solution that I do not get into in this article. I already have created many problems with Apple and don't want to create a new one.
Setup Moonlight
From this moment on, it's just a matter of configuring Moonlight on your Tablet. This step is very self-explanatory but, anyway, let's do it together.
Open Moonlight:
- Your computer should be available with a padlock in the middle. If not, double-check if the Sunshine service is up and running and if it is, redo the steps about the Firewall.
Pair Your Devices:
- Tap your computer. A pin-number will be displayed on your Tablet.
- Go to your computer, browse to
http://localhost:47990, log in, and click on the Pin tab. - Input the PIN displayed on your Tablet. The padlock will disappear.
Select the Second Screen:
- Now tap your computer again. You will have an option named
Second Screen(Linux users only). If not, redo the steps on the Sunshine configuration. - If you're using the
Windowsversion, you'll just have theDesktopoption and it's right. - Tap on the Second Screen
Linuxor DesktopWindows. You will see the second display on your tablet.
- Now tap your computer again. You will have an option named
Troubleshooting
- If you have a mirror of the main display or got an error mentioning that it was unable to start the application, verify if you correctly created the script for adding the virtual screen (Linux), making sure that the script is up to your Compositor and the Sunshine Configuration.
- (Linux) If you haven't installed the Flatpak version of Sunshine and, instead, installed the package for your distro, remove
flatpak-spawn --hostfrom the commands on the Application configuration step.
Disconnecting
- When you're done using the second screen, go back by swiping back the screen, hold the finger on the
Second Screenapplication, and tapQuit app. The created virtual screen will be unavailable.
Conclusion
So, thats completes this tutorial for how do a new life to your old iPad for both Linux and Windows. If you have any questions, submit a issue on my Github page.
keywords: ipad • second screen • windows • linux • hyprland • moonlight • sunshine • apple • retina display