Linux
DIY Linux Router - Part 1 - Initial Setup
This is the first part of a multi-part series describing how to build your own Linux router.
- Part 1: Initial Setup
- Part 2: Network and Internet
- Part 3: Users, Security and Firewall
- Part 4: Podman and Unbound
- Part 5: Wifi
- Part 6: Nextcloud and Jellyfin
- Part 7: File Sharing
- Part 8: Backup
- Impermanence Storage
With this old Mac Mini, that is currently sitting in the corner and making it a Linux Router would give it a new life. It is a capable, stable machine. So let's do it.
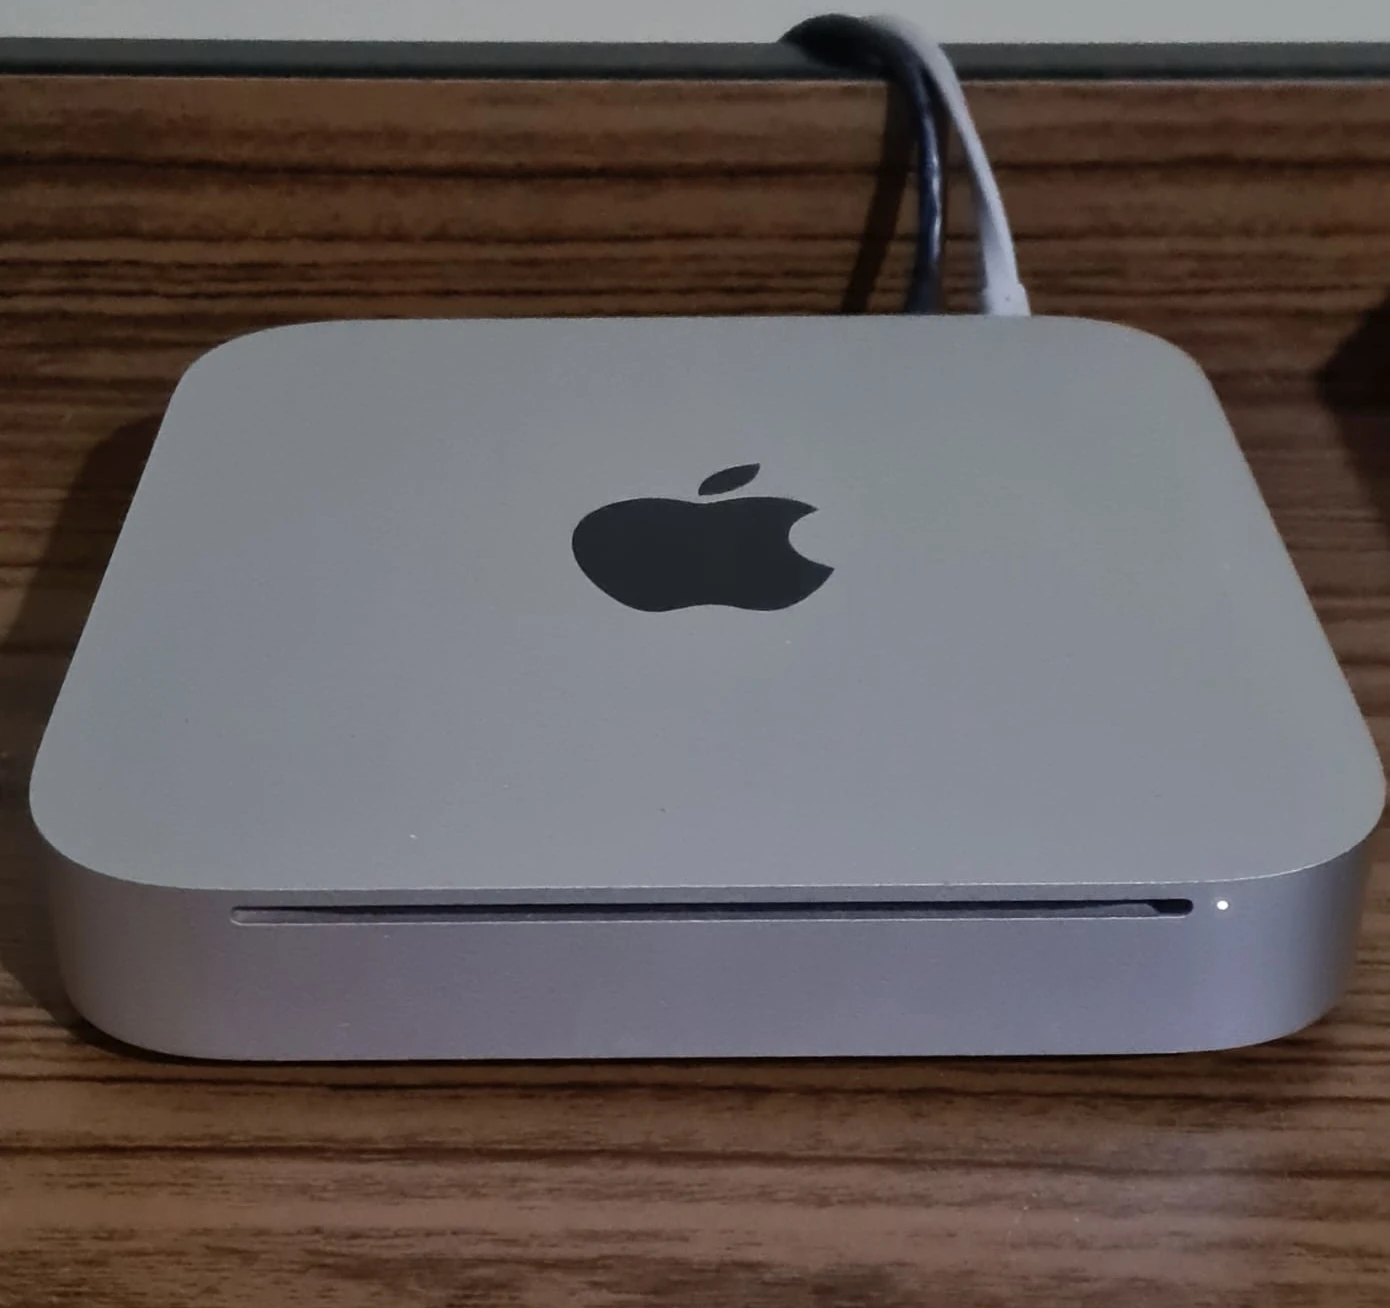
Table of Contents
The Idea
Let's state some building blocks. This project relies on the following:
- Gateway Internet: The Mac Mini will act as the main router, managing traffic between the internal network and the internet.
- File Server: We'll set up a file server to store and share files across the network.
- Private Cloud Storage with Nextcloud: Nextcloud will provide a self-hosted cloud storage solution, allowing you to access your files from anywhere.
- Wireless Access: The Unifi C6 Lite will provide wireless access to the network.
- Unbound DNS with Adblocks: Unbound DNS will be configured to block ads across the network, improving privacy and reducing bandwidth usage.
- Media Server: A media server will allow you to stream content to devices on the network.
- Private VPN: A VPN will be set up to allow secure remote access to the network.
The Hardware
For this project, we are going to use:
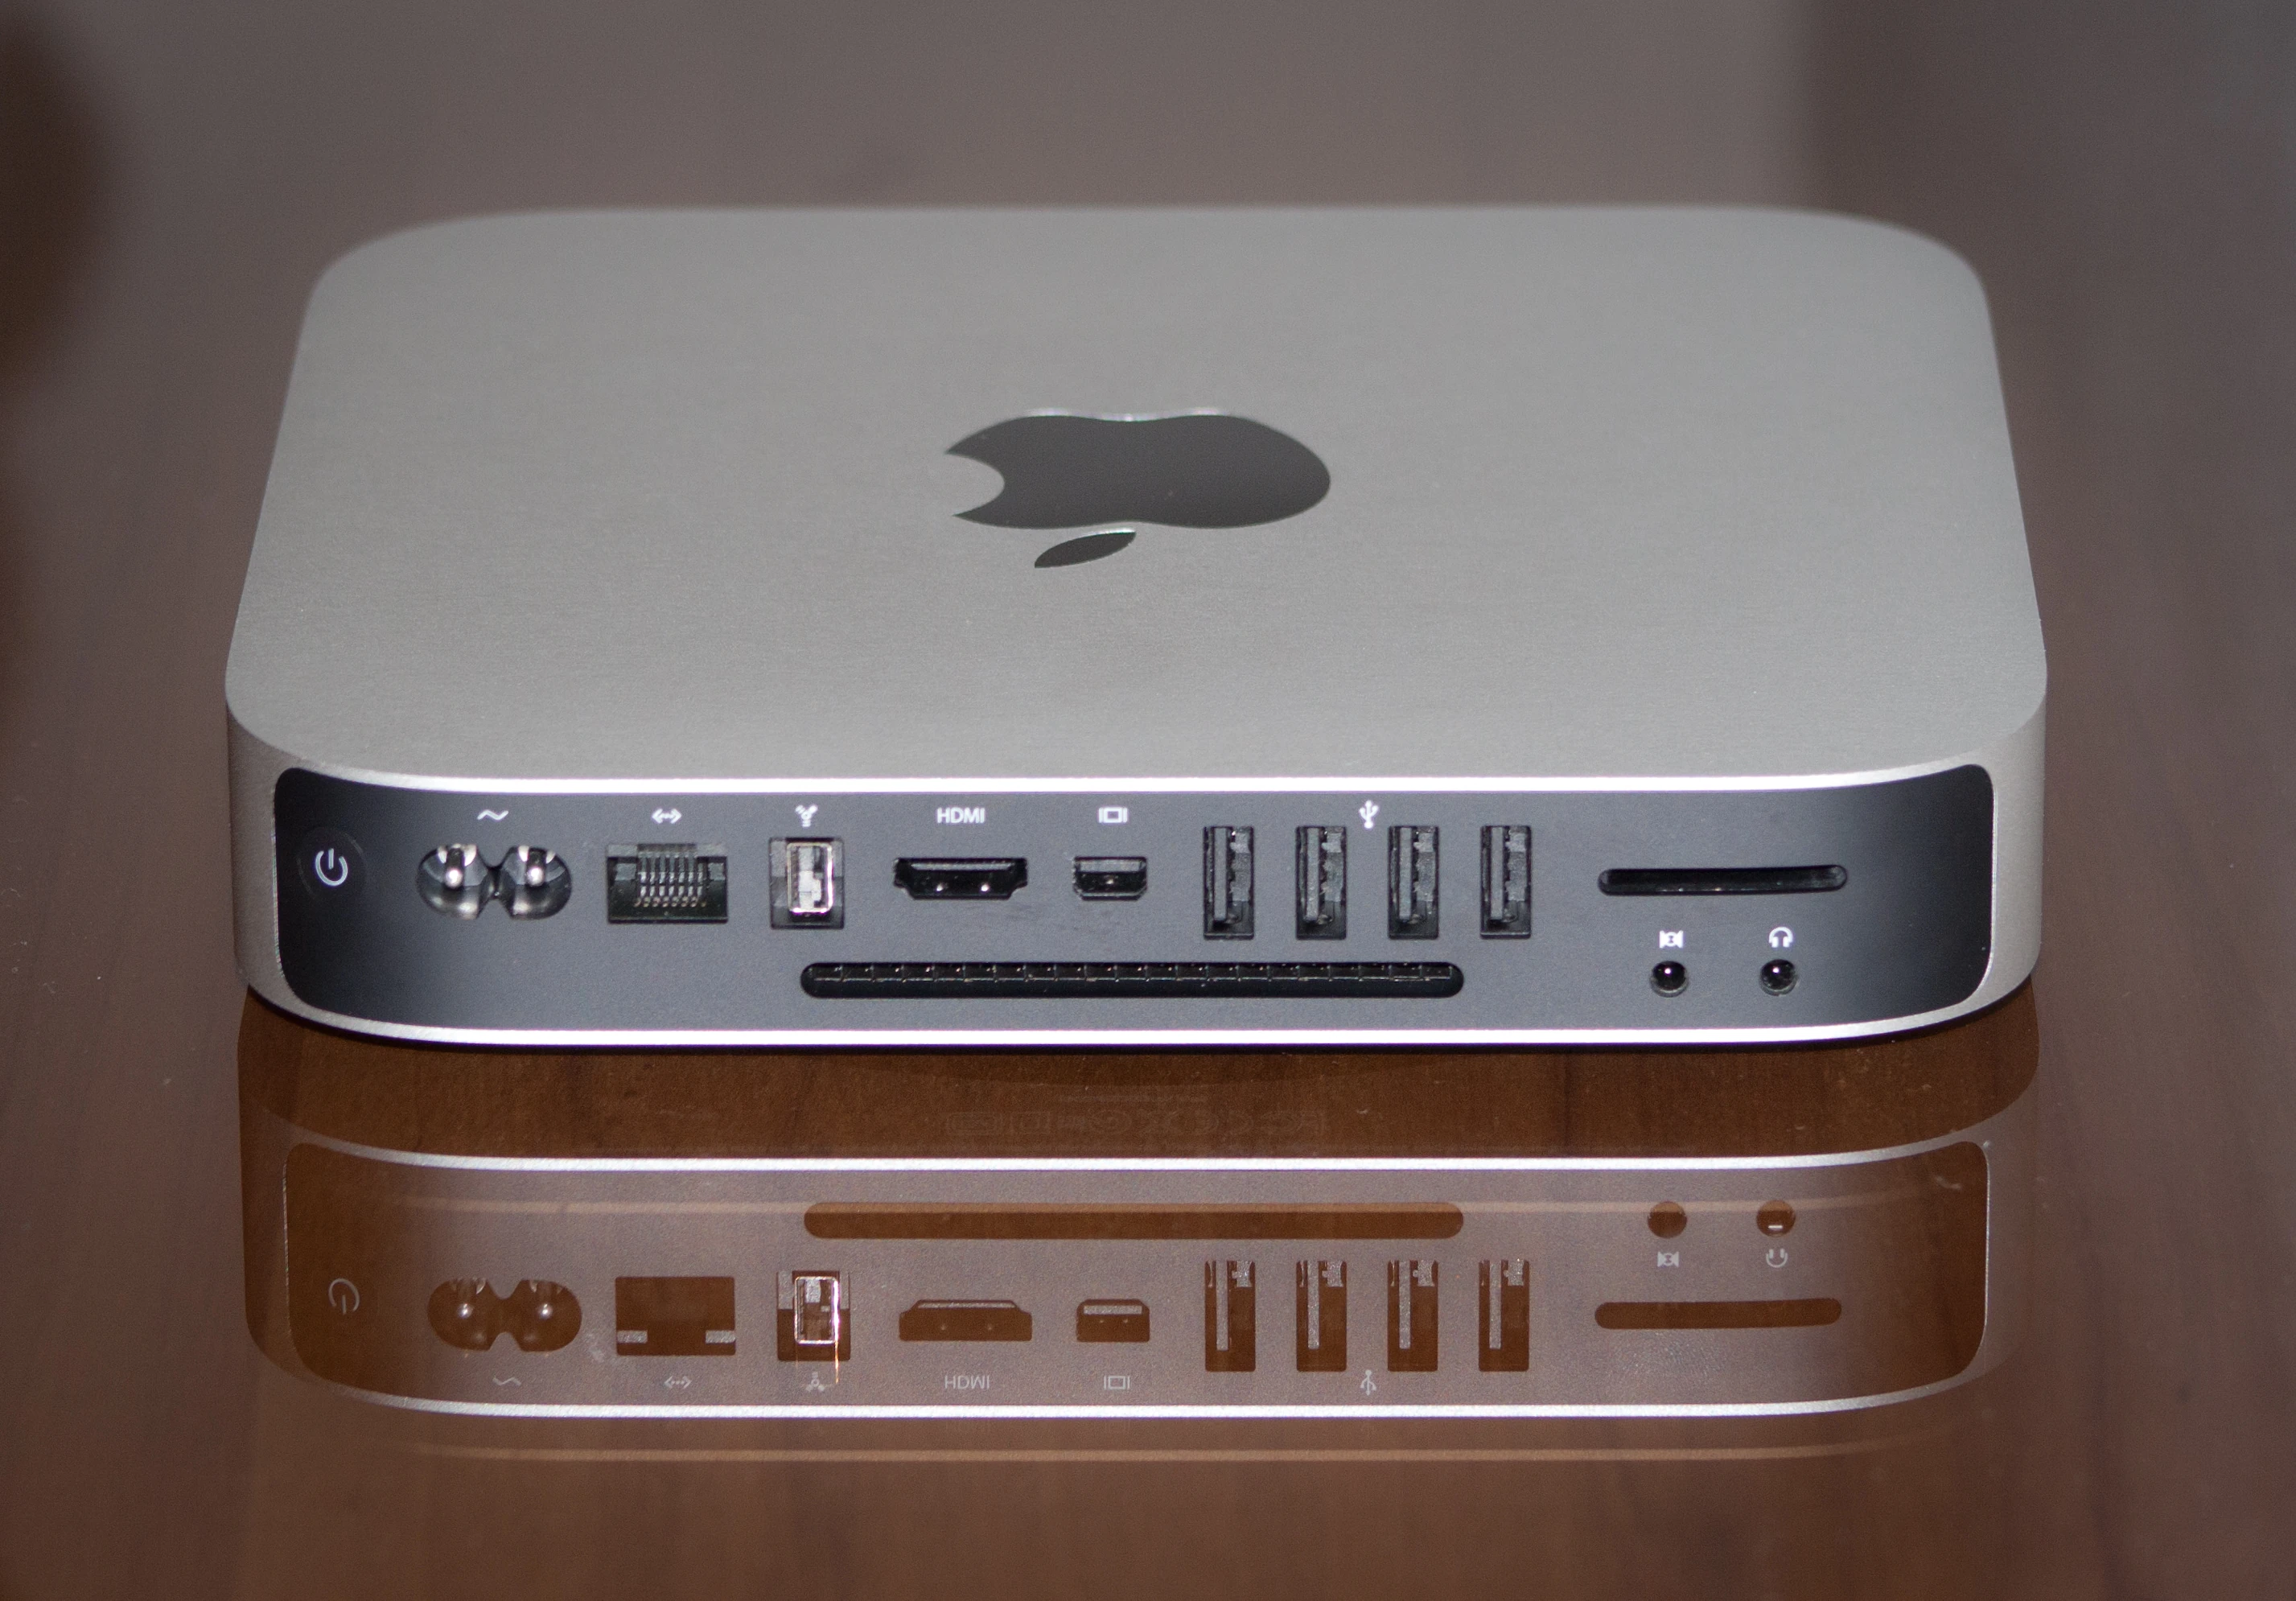
MacMini Core 2 Duo from 2010
Wikimedia image: Source
This Mac Mini is old and retired from its duty many years ago. As a desktop computer, it doesn't do much, but as a server, it will serve as a great machine with the following specs:
- Intel Core 2 Duo 8600 with 2.6GHz.
- 6GB of RAM.
- 2TB SSD.
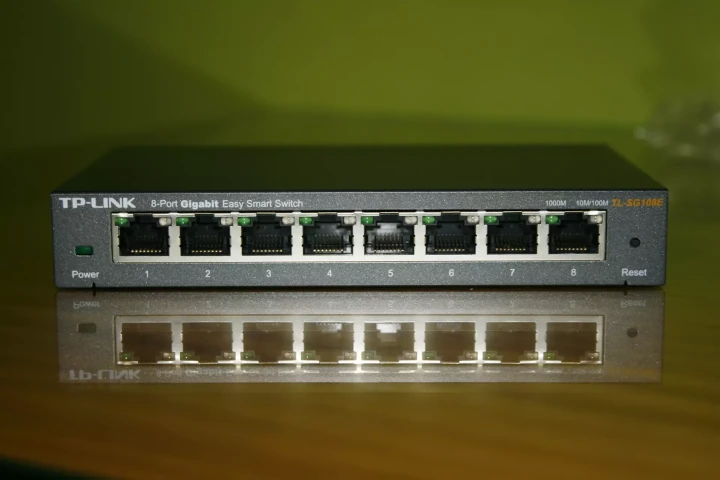
Manageable Switch TP-Link TL-SG108E
redeszone.net
The TP-Link TL-SG108E is a great choice for this project because it supports VLANs for splitting the network into different segments. We will explore this further in Part 2 of this series.
Ubiquiti Unifi C6 Lite
Stephen Herber's old blog post about DIY Linux as a router: Web archived link
The Unifi C6 Lite is a reliable wireless access point with good range and performance, making it perfect for providing wireless access to the network.
Linux Setup
For this project, my idea is to use NixOS.
NixOS is a great choice because of its declarative configuration model. By defining the entire system configuration in a single .nix file, it's easy to reproduce the setup on another machine or roll back changes if something goes wrong. This makes NixOS ideal for a server environment where stability and reproducibility are important. This whole project is available on my GitHub (links below).
1. Download NixOS
- Download the NixOS ISO from the official website.
- Create a bootable USB drive using a tool like
ddorEtcher. - Boot the Mac Mini from the USB drive by holding the
Optionkey during startup and selecting the USB drive.
2. Enable SSH Service
Enabling SSH will allow you to manage the Mac Mini remotely from your desktop computer, which is especially useful since the Mac Mini will be running headless (without a monitor or keyboard).
passwd
# Type your password twice.
sudo systemctl start sshd

# Check your IP
ip --brief addr
3. SSH into the Mac Mini
Access Mac Mini by using ssh with Putty or something similar, using the user nixos and the password you set in the previous step.
4. Partition the Disk
In this setup, I am going to use the ZFS filesystem. It's a resource-intensive filesystem, but it is resilient, fast, and offers great options for backup.
Although ZFS is resource-intensive, it offers several advantages that make it worth the trade-off. ZFS provides excellent data integrity through checksumming, supports snapshots for easy backups, and is highly scalable, making it a great choice for a file server. However, if you find ZFS to be more than what you need, BTRFS is a lighter alternative that still supports many of ZFS's features, such as snapshotting and easy backups. BTRFS is also less resource-intensive, making it a good option for older hardware. This partition scheme will allow the boot the system through BIOS and UEFI as well.
sudo -i
Define your storage device. You can check your storage device is by ls /dev/disk/by-id/
DISK=/dev/disk/by-id/scsi-STORAGE_DEVICE_ID
MNT=$(mktemp -d)
Define your tank name. For this tutorial, I will use the name rpool.
ZROOT=zroot
ZDATA=zdata
Wipe the disk entirely. Be aware that will erase all existing data.
wipefs -a ${DISK}
For flash-based storage, if the disk was previously used, you may want to do a full-disk discard (TRIM/UNMAP).
blkdiscard -f ${DISK}
Create the partition scheme. In this example, I'll create two storage pools:
zrootwith 16 Giga of storage.zdatawith the rest of storage space.
I prefer having discrete storage pools with one for Root and another for Data, Turning maintenance a lot easier, but if you prefer keeping everything in the same pool, it's just a matter of creating only the zroot storage pool with 100%
parted ${DISK} mklabel gpt \
  mkpart primary 1MiB 2MiB \
  set 1 bios_grub on \
  mkpart EFI 2MiB 514MiB \
  set 2 esp on \
  mkpart Swap 514MiB 16.5GB \
  mkpart ZFS-Root 16.5GB 32.5GB \
  mkpart ZFS-Data 32.5GiB 100%

sleep 1
mkfs.msdos -F 32 -n EFI ${DISK}-part2
Get the ids for partitions
BOOT="${DISK}-part2"
SWAP="${DISK}-part3"
ROOT="${DISK}-part4"
DATA="${DISK}-part5"
5. Create ZFS Datasets
In both ZFS and BTRFS, data blocks are not usually separated into partitions, but rather into datasets in the case of ZFS or Volumes in the case of BTRFS. They work as if they were partitions, but sharing the same storage space and, often, the same file and directory structure.
In this tutorial, I only covered the creation of ZFS pools, since the equivalent process in BTRFS is simpler and more intuitive.
To create storage pools, we apply several parameters. They are:
ashift=12: improves performance when working with SSDsatime=off: As mentioned in this article, modern Unix operating systems have special mount options to optimizeatimeusage.- compression=lz4: Optimize storage space by compressing data with
lz4algorithm without sacrificing performance. - zattr=sa: Advanced attribute settings. Need for installing Linux-based operating systems
- acltype=posixacl: Requirement for installing Linux on a ZFS formatted system.
zpool create -O canmount=off -O mountpoint=/ \
  -o ashift=12 -O atime=off -O compression=lz4 \
  -O xattr=sa -O acltype=posixacl \
  ${ZROOT} ${ROOT} -R ${MNT}

zpool create -O canmount=off -O mountpoint=/mnt/zdata \
  -o ashift=12 -O atime=off -O compression=lz4 \
  -O xattr=sa -O acltype=posixacl \
  ${ZDATA} ${DATA} -R ${MNT}
Create the filesystem
On NixOS, the operating system is installed on /nix directory. NixOS references this directory and creates the other directories during initialization for compatibility. So you can have the root filesystem as impermanent storage. you can read more about it on NixOS's wiki. There's an alternative article regarding the impermanent storage approach in the link DIY Linux Router with Impermanence.
This tutorial covers installation using a persistent root file system.
zfs create -o mountpoint=legacy -o canmount=noauto ${ZROOT}/root
mount -t zfs ${ZROOT}/root ${MNT}
zfs create -o canmount=off ${ZROOT}/etc
zfs create -o mountpoint=legacy -o canmount=noauto ${ZROOT}/etc/nixos
zfs create -o canmount=noauto ${ZROOT}/nix
zfs create -o canmount=off ${ZROOT}/var
zfs create -o canmount=noauto -o com.sun:auto-snapshot=false ${ZROOT}/var/log
Mount the remaining filesystems:
mkdir ${MNT}/etc/nixos -p
mount -t zfs ${ZROOT}/etc/nixos ${MNT}/etc/nixos
zfs mount ${ZROOT}/nix
zfs mount ${ZROOT}/var/log
Now create the zdata mount points.
zfs create -o canmount=noauto -o mountpoint=legacy ${ZDATA}/home
mkdir ${MNT}/home
mount -t zfs ${ZDATA}/home ${MNT}/home
Finally, tmpfs volumes.
mkdir ${MNT}/tmp
mkdir -p ${MNT}/var/tmp
mount -t tmpfs tmpfs ${MNT}/tmp
mount -t tmpfs tmpfs ${MNT}/var/tmp
Swap partition
Using a swap on an SSD can reduce the drive's lifespan, but in some cases is necessary.
Considering that the swap partition was already created.
mkswap -f ${SWAP}
swapon ${SWAP}
6. Create and mount the Boot filesystem
Because the operating system installation lies in the /nix directory, what mainly is /boot/efi on other Linux distributions is solely /boot on NixOS.
mkdir ${MNT}/boot
mount ${BOOT} ${MNT}/boot
7. Generate NixOS Configuration
nixos-generate-config --root ${MNT}
8. Define a password for the root user
This step is only necessary if you're using the impermanent storage for the root filesystem.
PASS=$(mkpasswd --method=SHA-512)
Type the password. It will be stored in the variable PASS for further use.
9. Edit the Configuration
Open the ${MNT}/etc/nixos/configuration.nix file and make sure to enable ZFS support.There are two versions of this configuration file. One for BIOS and the other for UEFI.
For the 2010 Mac Mini, there are some hardware issues related to proprietary drivers that need to be addressed. Fortunately, NixOS provides the hardware configuration schemas, which helps to address those issues easily. On the UEFI file, there's a reference on imports for importing the profile for my machine. But first I have to add these channels. More details on github.com/NixOS/nixos-hardware.
Do this step only if you intend to use the hardware configuration scheme.
sudo nix-channel --add https://github.com/NixOS/nixos-hardware/archive/master.tar.gz nixos-hardware
sudo nix-channel --update
UEFI configuration.nix.
cat << EOF > ${MNT}/etc/nixos/configuration.nix

{ config, lib, pkgs, ... }:

{
  imports =
    [
      <nixos-hardware/apple/macmini/4> #Specific for the Mac Mini 2010
      ./hardware-configuration.nix
      ./users.nix
    ];

  # Use the systemd-boot EFI boot loader.
  boot.loader.systemd-boot.enable = true;
  boot.loader.efi.canTouchEfiVariables = true;

  # Use LTS kernel for better stability
  boot.kernelPackages = pkgs.linuxPackages;

  i18n.defaultLocale = "en_US.UTF-8";
   console = {
     font = "Lat2-Terminus16";
     useXkbConfig = true; # use xkb.options in tty.
   };
  time.timeZone = "America/Sao_Paulo";
  system.stateVersion = "25.05";
  services.openssh = {
    enable = true;
    settings = {
      PermitRootLogin = "yes";
      PasswordAuthentication = true;
    };
  };
  nixpkgs.config.allowUnfree = true;
  environment.systemPackages = with pkgs; [ vim ];

  # Set the hostId for ZFS
 networking.hostId = "$(head -c 8 /etc/machine-id)";
}
EOF
BIOS configuration.nix.
cat << EOF > ${MNT}/etc/nixos/configuration.nix
{ config, pkgs, ... }:

{
  imports =
    [
      <nixos-hardware/apple/macmini/4> #Specific for the Mac Mini 2010
      ./hardware-configuration.nix
      ./users.nix
    ];
  system.stateVersion = "25.05";
  boot = {
    loader = {
      grub.enable = true;
      grub.device = "${DISK}";
    };
    supportedFilesystems = [ "zfs" ];
    # Use LTS kernel for better stability
    kernelPackages = pkgs.linuxPackages;
  };

  i18n.defaultLocale = "en_US.UTF-8";
   console = {
     font = "Lat2-Terminus16";
     useXkbConfig = true; # use xkb.options in tty.
   };
  time.timeZone = "America/Sao_Paulo";
  services.openssh = {
    enable = true;
    settings = {
      PermitRootLogin = "yes";
      PasswordAuthentication = true;
    };
  };
  nixpkgs.config.allowUnfree = true;
  environment.systemPackages = with pkgs; [ vim ];

  # Set the hostId for ZFS
 networking.hostId = "$(head -c 8 /etc/machine-id)";
}
EOF
users.nix
The users.nix file will create the intended users for the server. For now, let's just set the root password with it and secure the file against reading by other users besides root. Be aware that this step is fundamental to guarantee that you will be able to access the server after reboot.
cat << EOF > ${MNT}/etc/nixos/users.nix
{ config, pkgs, ... }:
{
  users.users.root.initialHashedPassword = "${PASS}";
}
EOF
chmod 600 ${MNT}/etc/nixos/users.nix
Hardware Configuration
The command nixos-generate-config scans your hardware and creates all the mount points your system needs. You can check if everything is ok with it.
You don't need to keep any mountpoints managed by ZFS with the except of /nix and / mountpoint. Also maintain only the following mount points.
/: Leave as is./nix: Leave as is./boot: Becase is not a ZFS Filesystem, but a FAT32 for booting, leave it on configuration file as well./tmpand/var/tmp: If you choose to create those astmpfs.
Additionally, you need to configure NixOS to import the zdata pool. Supplement the configuration file with boot.zfs.extraPools = ["zdata" ]; as described below.
${MNT}/etc/nixos/hardware-configuration.nix
{
  ...

  boot.zfs.extraPools = [ "zdata" ]; # Check if this line exists. If not. Add it.

  fileSystems."/" =
    { device = "zroot/root/nixos";
      fsType = "zfs";
    };

  fileSystems."/nix" =
    { device = "zroot/nix";
      fsType = "zfs";
    };

  fileSystems."/boot/" =
    { device = "/dev/disk/by-uuid/3E83-253D";
      fsType = "vfat";
      options = [ "fmask=0022" "dmask=0022" ];
    };

...
}
10. Install NixOS
Run the installation command:
nixos-install --root ${MNT}
11. Umount the filesystem
cd /
swapoff ${SWAP}
umount ${MNT}/boot/
umount -Rl ${MNT}
zpool export -a
After checking if everything was successfully disconnected, you can restart your system:
reboot
12. Post-Installation Configuration
Once NixOS is installed, you can configure the services that will run on your router. Here are some of the main services we will configure in this series:
- Nextcloud: For private cloud storage.
- Unbound DNS with Adblock: To block ads across the network.
- VPN: To allow secure remote access to your network.
Conclusion
By repurposing an old Mac Mini and using NixOS, you've created a powerful and flexible Linux router that can manage your network, provide cloud storage, block ads, and more. This setup is highly customizable and can be expanded with additional services. Whether you're looking to improve your home network or just want to experiment with NixOS, this project is a great way to breathe new life into old hardware.
This wraps up the first part of this article. In the second part, we’ll configure our network, including VLAN configuration to split our network into Home, Guest, IoT, and set up a PPPoE connection with basic firewall rules using nftables for security.
- Part 2: Network and Internet
keywords: macmini • router • linux • nixos • pppoe • unifi • ubiquiti • apple • vlan • tl-sg108e